DIY Rusted Metal Effect On Wood
Love the look of rust? With the DIY Paint System, creating rust effects is simple. Lori Craig shows you how she transformed a balsawood sign into a rusted piece of decor.
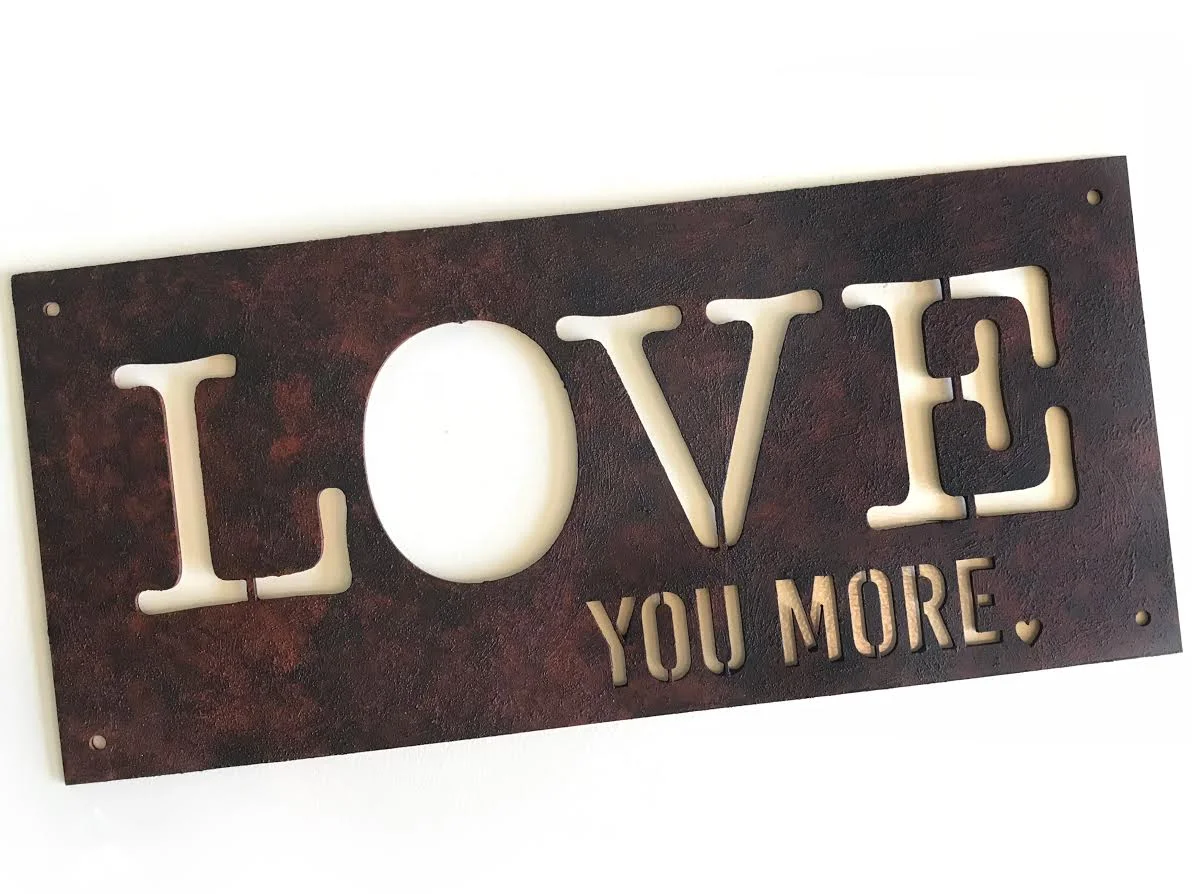
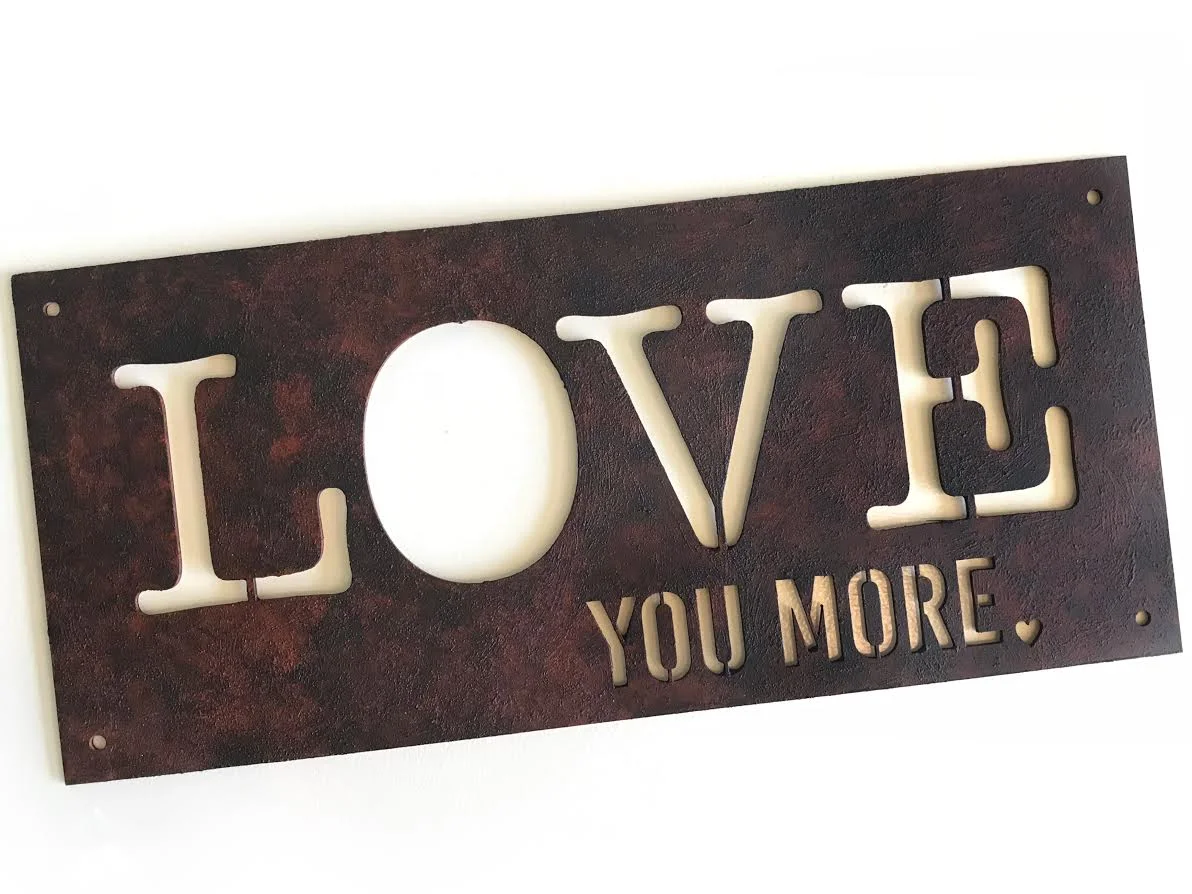
I have a few blank walls in a small travel trailer that I purchased this summer, and I’ve been on the hunt for a few personal and lightweight decor items. I found this balsawood LOVE YOU MORE sign at a local craft store, and thought it would be perfect. It’s kind of the family mantra around here.

I knew a rusted metal sign would look great but the walls inside travel trailers are not made for nails or heavy decor, so the lightweight balsawood with a faux finish technique was perfect! A few quality products from Tommy Art and three disposable paint brushes made quick work of this project - start to finish I have about an hour into this piece - including dry time.
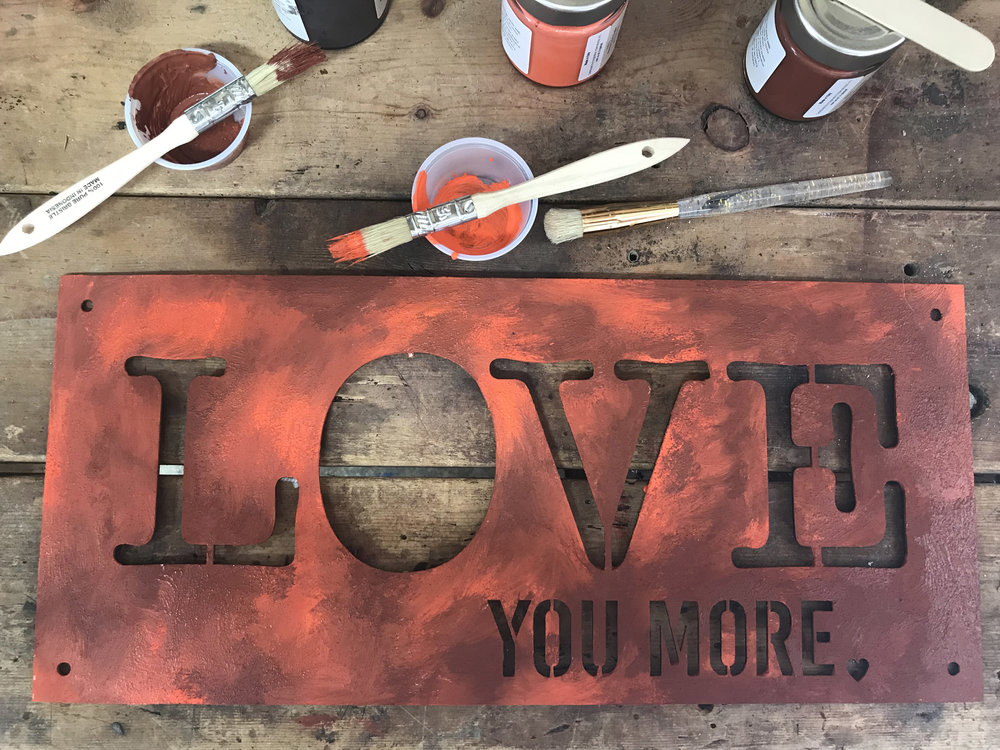
For this project, I used a combination of Bright Orange Paste, Brick Red Paste, and Antiquing Coating from
Supplies
Balsawood sign
Stencil/stipple brush
Paintbrush
Antiquing coating
Damp cloth or sponge
Water
String - for hanger on back
Adhesive - I used Better Ultimate Adhesive

You’ll find these rich pastes so easy to use, with just enough grit to lend an authentic oxidized look to your finished piece.
Step 2
Using a stipple brush or chip brush , immediately dab brick red paste randomly onto the surface.

Leave some areas dark, some areas blended with the bright orange paste, and some areas light.
Step 3
You can see my application of the pastes was really random and haphazard. This was very easy step and fun to work through. Let dry completely.
Step 4
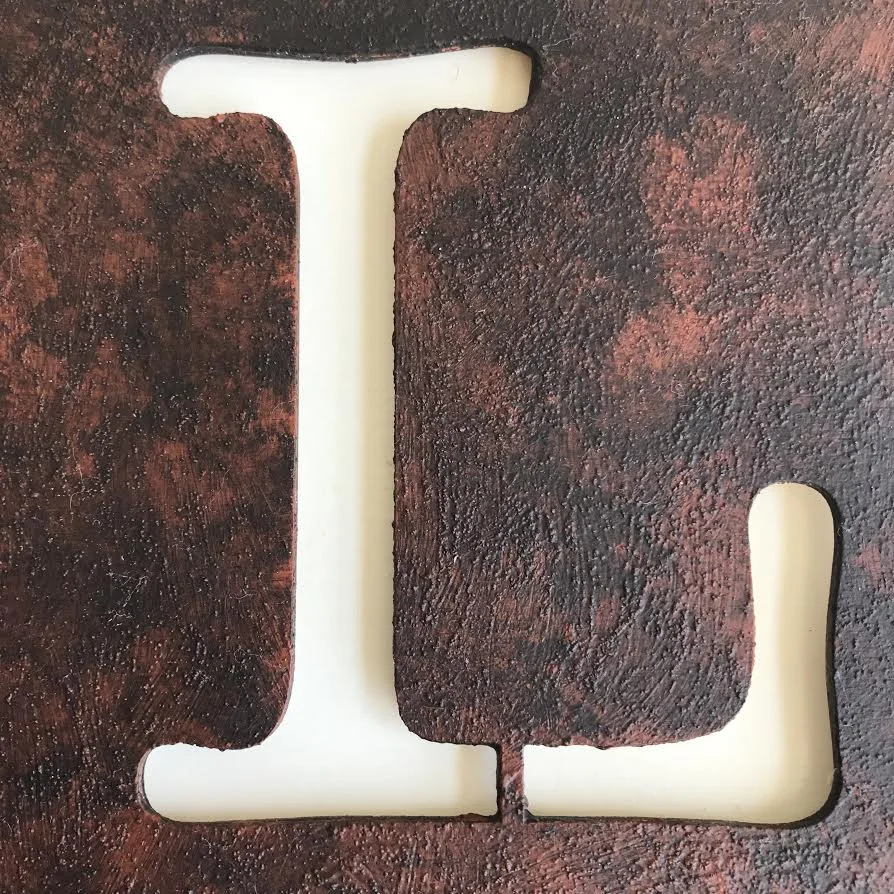
Using a brush, apply antiquing coating. On larger pieces you may choose to work in small sections as coatings will dry quickly.


Step 5
Use a damp cloth or sponge to immediately remove some of the antiquing coating. Remove unevenly for a more realistic rusted appearance.
Step 6
Let dry completely. After drying, I repeated steps 5 & 6 for a darker finish

Step 7
Protect with neutral wax (transparent varnish is also a great option).
I love the look and feel of this faux finish - so much more than paint.
Step 8
I wanted a lightweight hidden way to hang this in my travel trailer without nails or screws in the wall. A thin piece of twine and Better Ultimate Adhesive provided a quick “hanger” that easily rests on a 3M Command Hook.

Step 9
Hang your rusted sign in the perfect spot. Here's mine hanging in our travel trailer.
This faux-rust technique is so fast and fun to execute. The quality material and finish achieved with Tommy Art products makes it a perfect choice for lamps, vases, wall-decor and more - even a faux-finish wall!